DNS records are the instructions that tell the internet where to find your website and where to deliver your email. They're invisible to visitors, but if they're wrong, nothing works.
The good news: setting them up takes about 15 minutes. You don't need to be technical. Every registrar and hosting provider has a DNS management panel, and the records themselves are just short text entries.
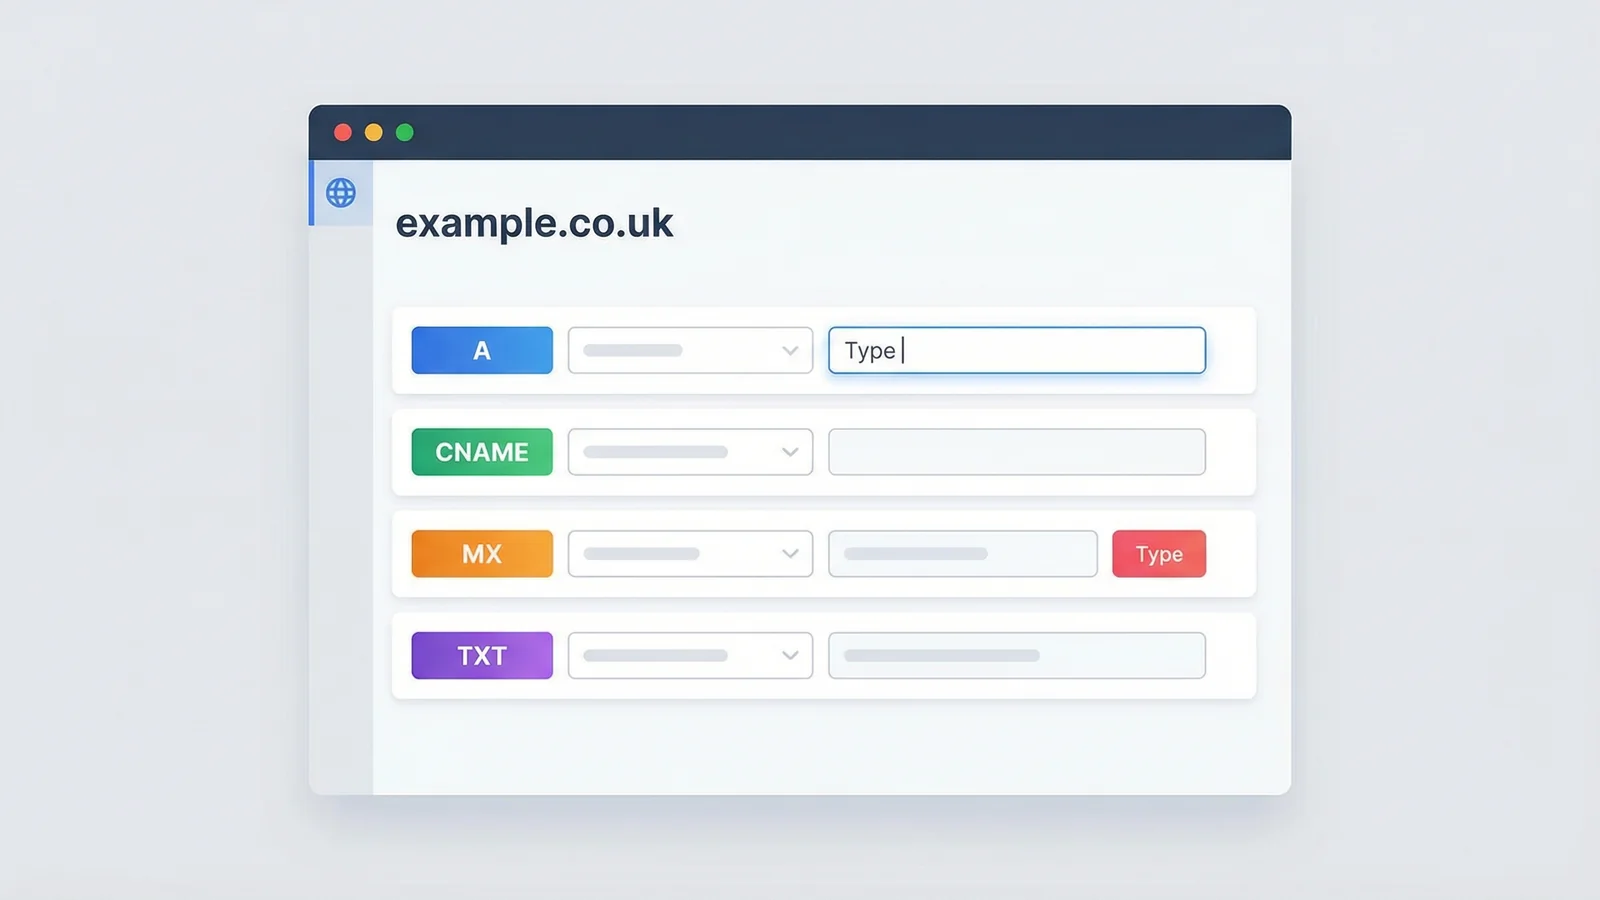
Here's what you'll set up:
- A record (points your domain to your hosting server)
- CNAME records (handles www and subdomains)
- MX records (routes email to the right place)
- SPF record (stops spammers pretending to be you)
- DKIM record (proves your emails haven't been tampered with)
- DMARC record (tells email servers what to do with fakes)
- Verify everything works
Tools you'll need
- Your domain registrar's DNS management panel
- Your web hosting provider's IP address (for the A record)
- Your email provider's DNS settings (for MX, SPF, DKIM)
- Our free DNS Lookup tool (to verify records afterwards)
No consumable supplies required.
Step 1: Find Your DNS Management Panel
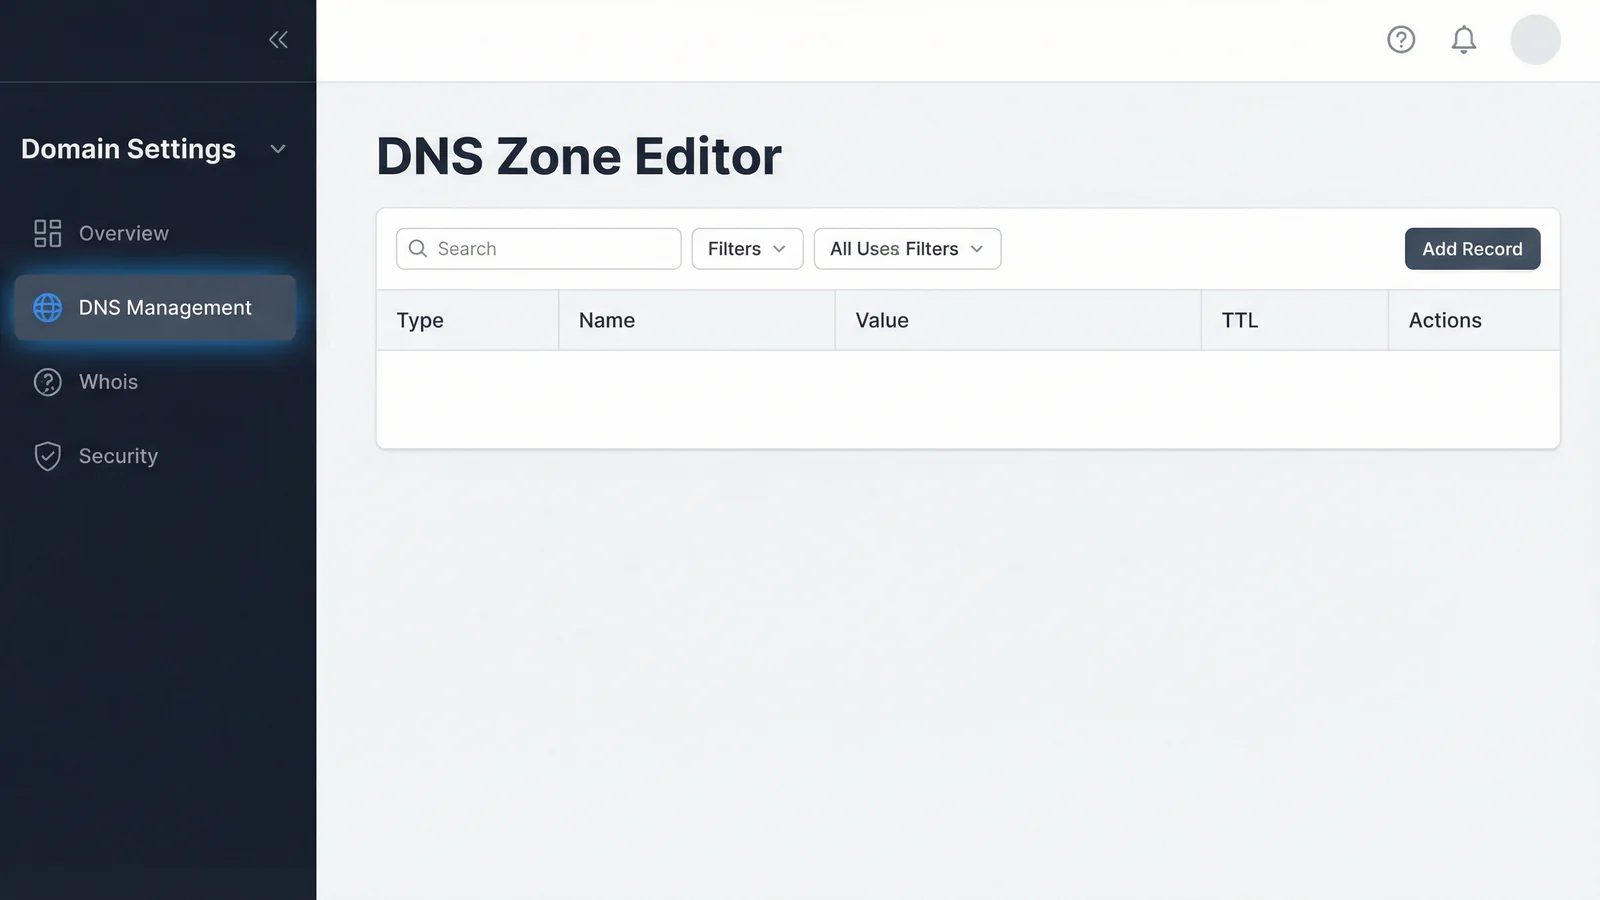
Log into the company that manages your domain name. This might be your registrar (where you bought the domain) or your hosting provider (if you've pointed nameservers to them).
Look for a section called "DNS Management", "DNS Zone Editor", "DNS Settings", or "Advanced DNS". It's almost always under the domain settings, not the hosting settings.
If you recently transferred your domain to a new registrar, the DNS panel will be at the new provider. If you only changed nameservers, it'll be wherever those nameservers point.
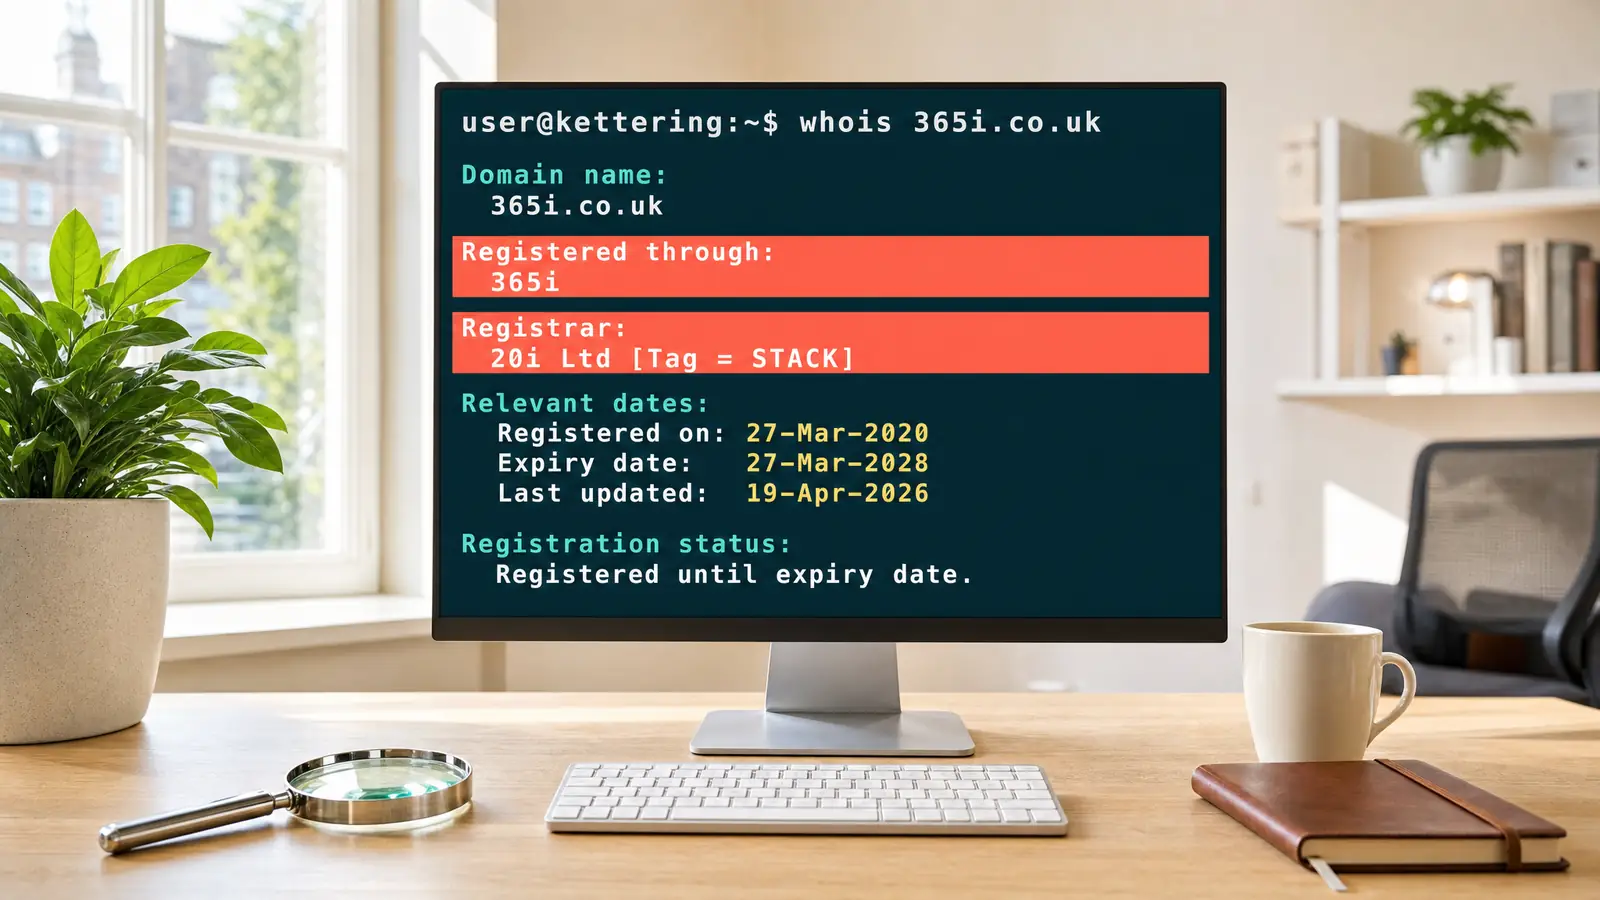
"DNS is the protocol that makes the web work. It's how we convert easy to remember names like facebook.com into hard to remember IP addresses like 157.240.1.35 and others. Without it, the web wouldn't work but DNS has a problem, it's not secure."
-- Scott Helme, Security Researcher and Founder at Report URI, scotthelme.co.uk
Helme puts it perfectly. DNS is foundational. Every record you're about to set up is a small instruction that keeps your online presence running. I've been managing DNS for clients since 2002, and the single biggest cause of "my website's down" calls is a misconfigured DNS record. Not server failures, not code bugs. DNS.
Tip: Not sure where your DNS is managed? Run your domain through our DNS Lookup tool. The NS (nameserver) records will tell you which provider controls your DNS.
Step 2: Set Up Your A Record
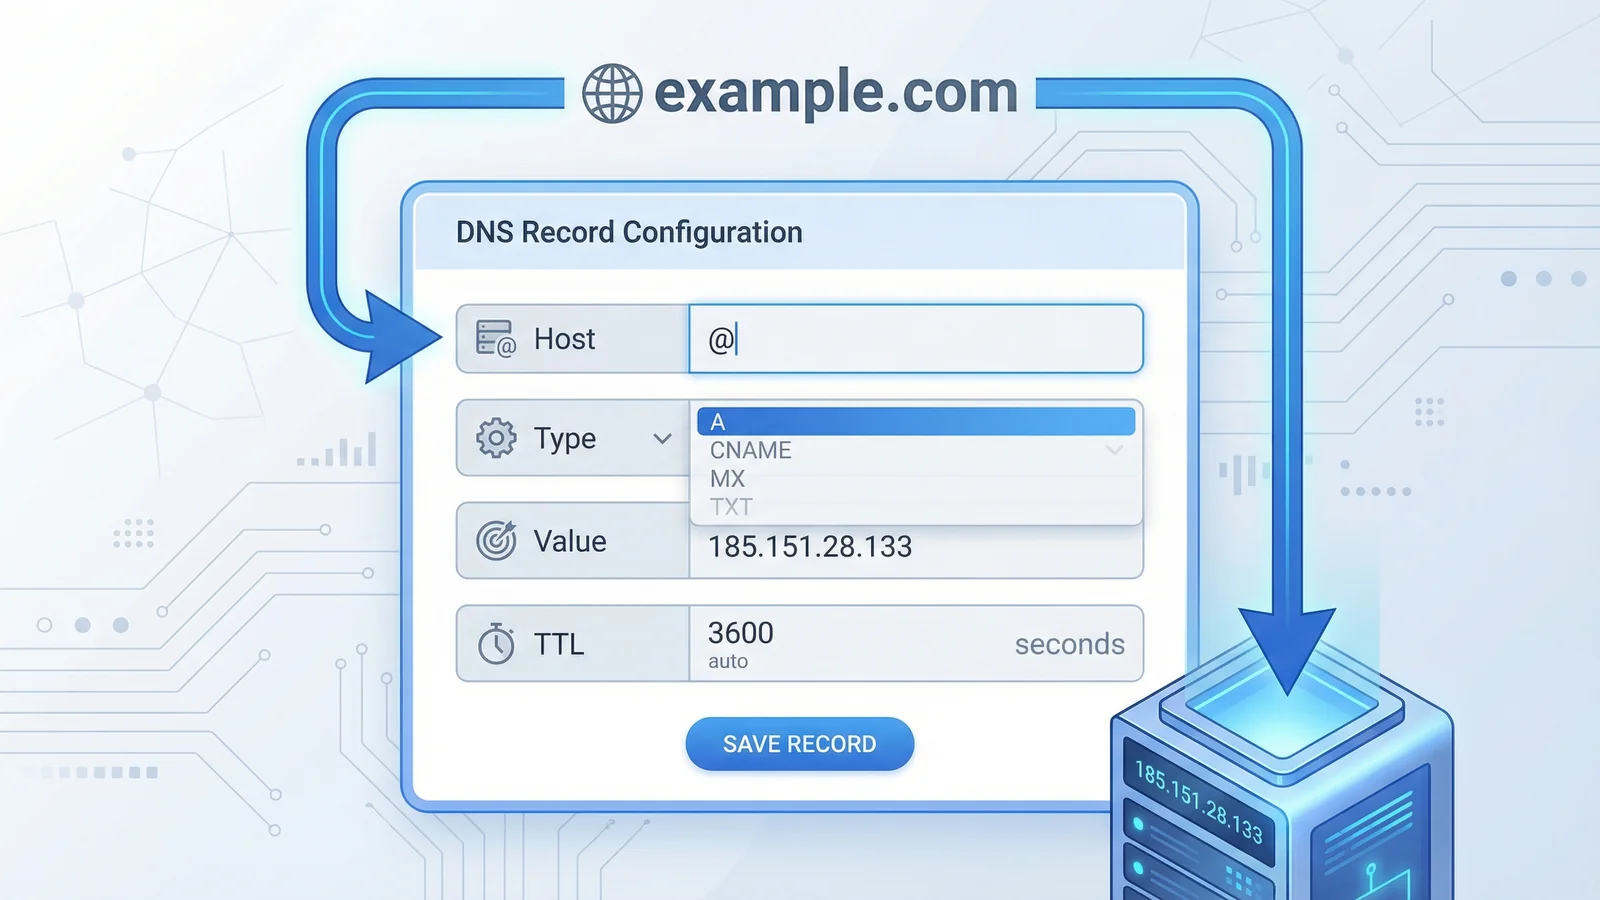
The A record is the most important DNS record. It tells browsers which server to contact when someone types your domain name.
Create a new A record with these settings:
- Host/Name:
@(this represents your root domain, e.g. yourdomain.co.uk) - Type: A
- Value/Points to: Your hosting provider's IP address (e.g.
185.151.28.133) - TTL: 3600 (1 hour) or leave as default
Your hosting provider will give you the IP address. It's usually in your welcome email or hosting control panel under "Server Information" or "Account Details".
If your provider gave you an IPv6 address as well (a longer address with colons, like 2a06:98c1:3120::1), add an AAAA record with the same host (@) pointing to that address. This helps visitors on modern networks connect faster.
Tip: Double-check the IP address digit by digit. One wrong number and your domain points to someone else's server, or nowhere at all. Copy and paste it rather than typing manually.
Step 3: Add CNAME Records for Subdomains
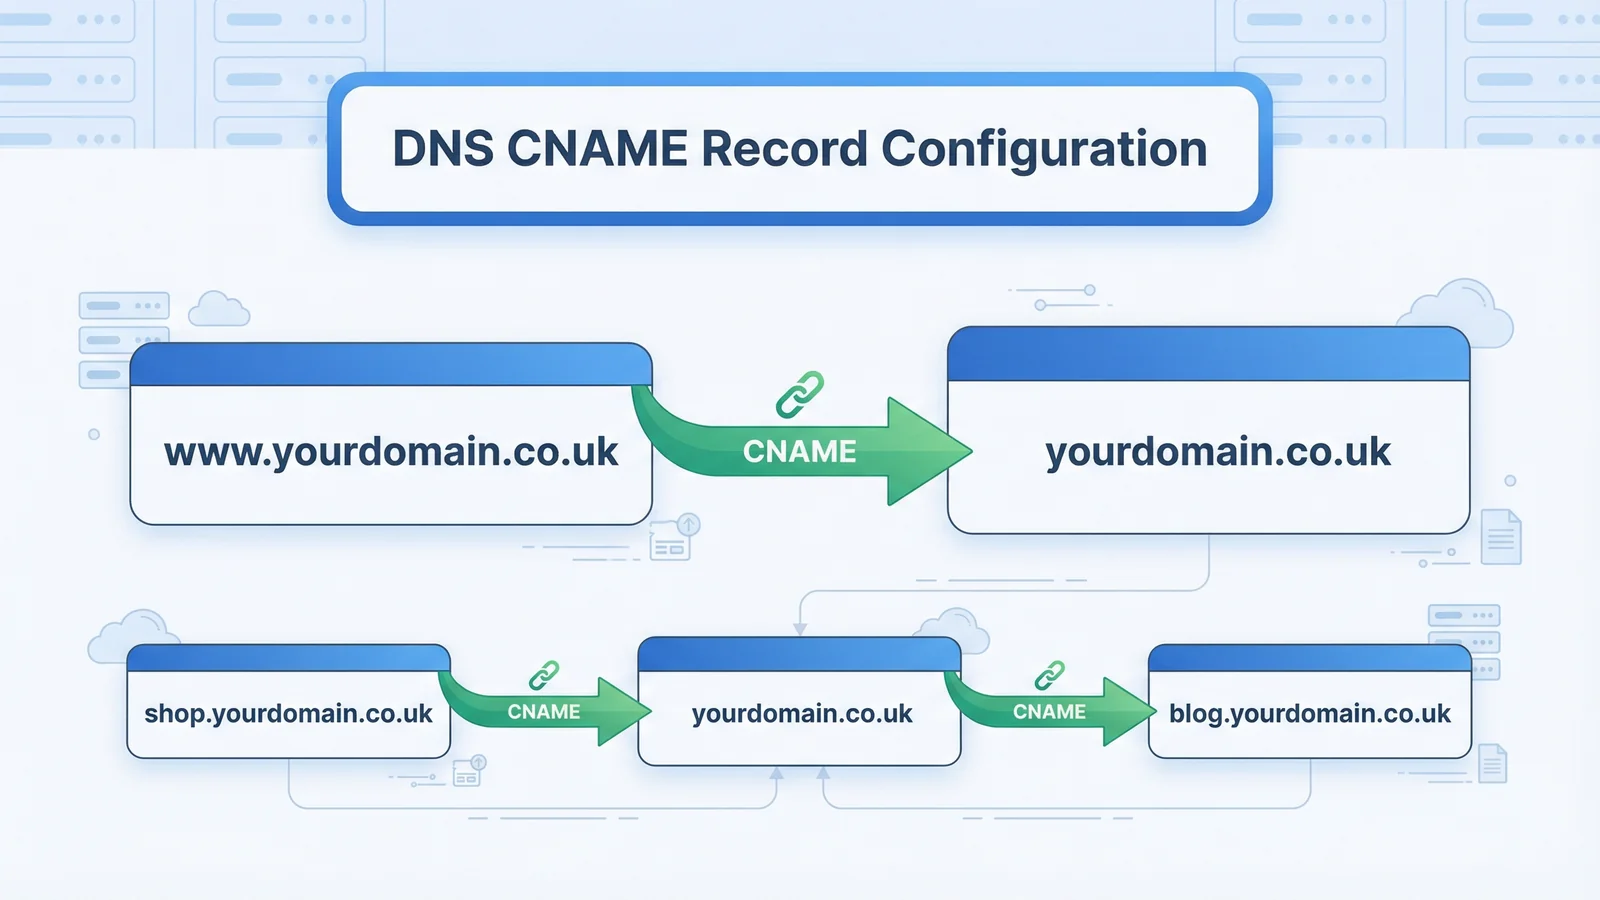
A CNAME record creates an alias from one name to another. The most common use is making www.yourdomain.co.uk point to the same place as yourdomain.co.uk.
Add a CNAME record:
- Host/Name:
www - Type: CNAME
- Value/Points to:
yourdomain.co.uk(your root domain) - TTL: 3600 or default
If you use other subdomains (like shop.yourdomain.co.uk for an online store or blog.yourdomain.co.uk), add a CNAME for each one pointing to wherever that service is hosted.
Some services, like Shopify or HubSpot, will give you a specific CNAME target to use instead of your root domain. Follow their instructions exactly.
Tip: You can't put a CNAME on the root domain (@). The root domain must use an A record. This is a DNS standard, not a registrar limitation. Some providers offer "CNAME flattening" or "ALIAS records" as a workaround, but a standard A record on @ and a CNAME on www works everywhere.
Step 4: Configure MX Records for Email
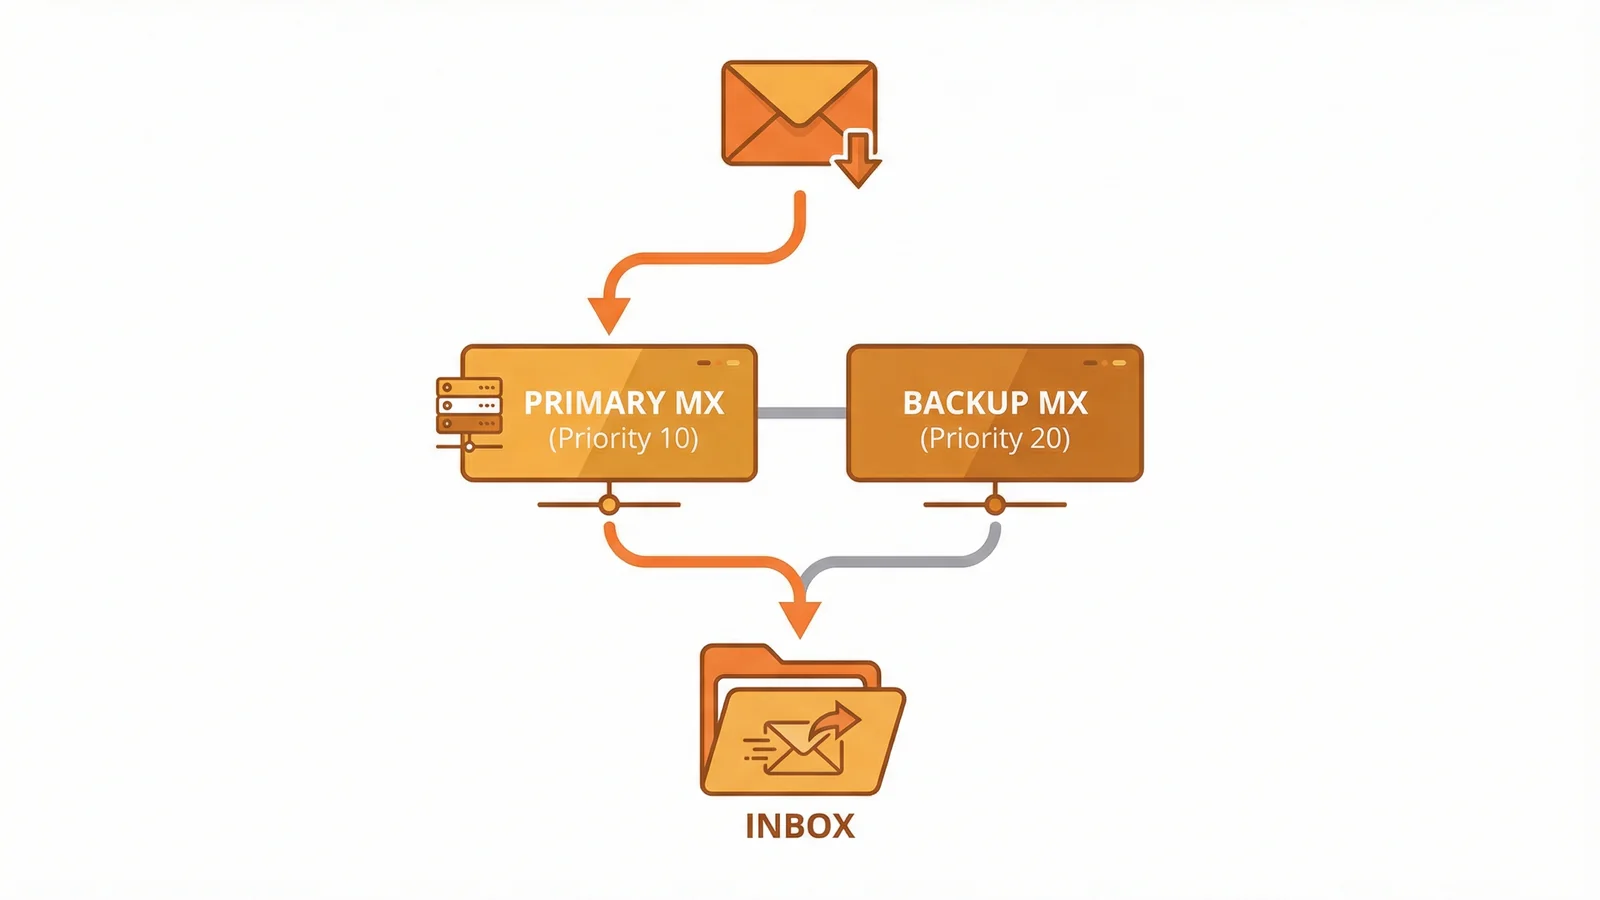
MX (Mail Exchange) records tell other email servers where to deliver messages sent to your domain. Without them, email to you@yourdomain.co.uk goes nowhere.
Your email provider will give you the MX records to add. Here are the common ones:
| Provider | MX Records | Priority |
|---|---|---|
| Google Workspace | aspmx.l.google.com (+ 4 backups) | 1, 5, 5, 10, 10 |
| Microsoft 365 | [your-domain].mail.protection.outlook.com | 0 |
| Hosting provider email | Varies (check your control panel) | 10 |
Each MX record needs a priority number. Lower numbers get tried first. If your primary mail server (priority 10) is down, email falls through to the backup (priority 20).
For each MX record, set:
- Host/Name:
@ - Type: MX
- Value: The mail server address from your provider
- Priority: The number your provider specifies
- TTL: 3600 or default
Tip: If you're switching email providers, add the new MX records before removing the old ones. Run both in parallel for 24 hours, then delete the old entries. This prevents lost email during the transition.
Step 5: Add SPF and DKIM Records
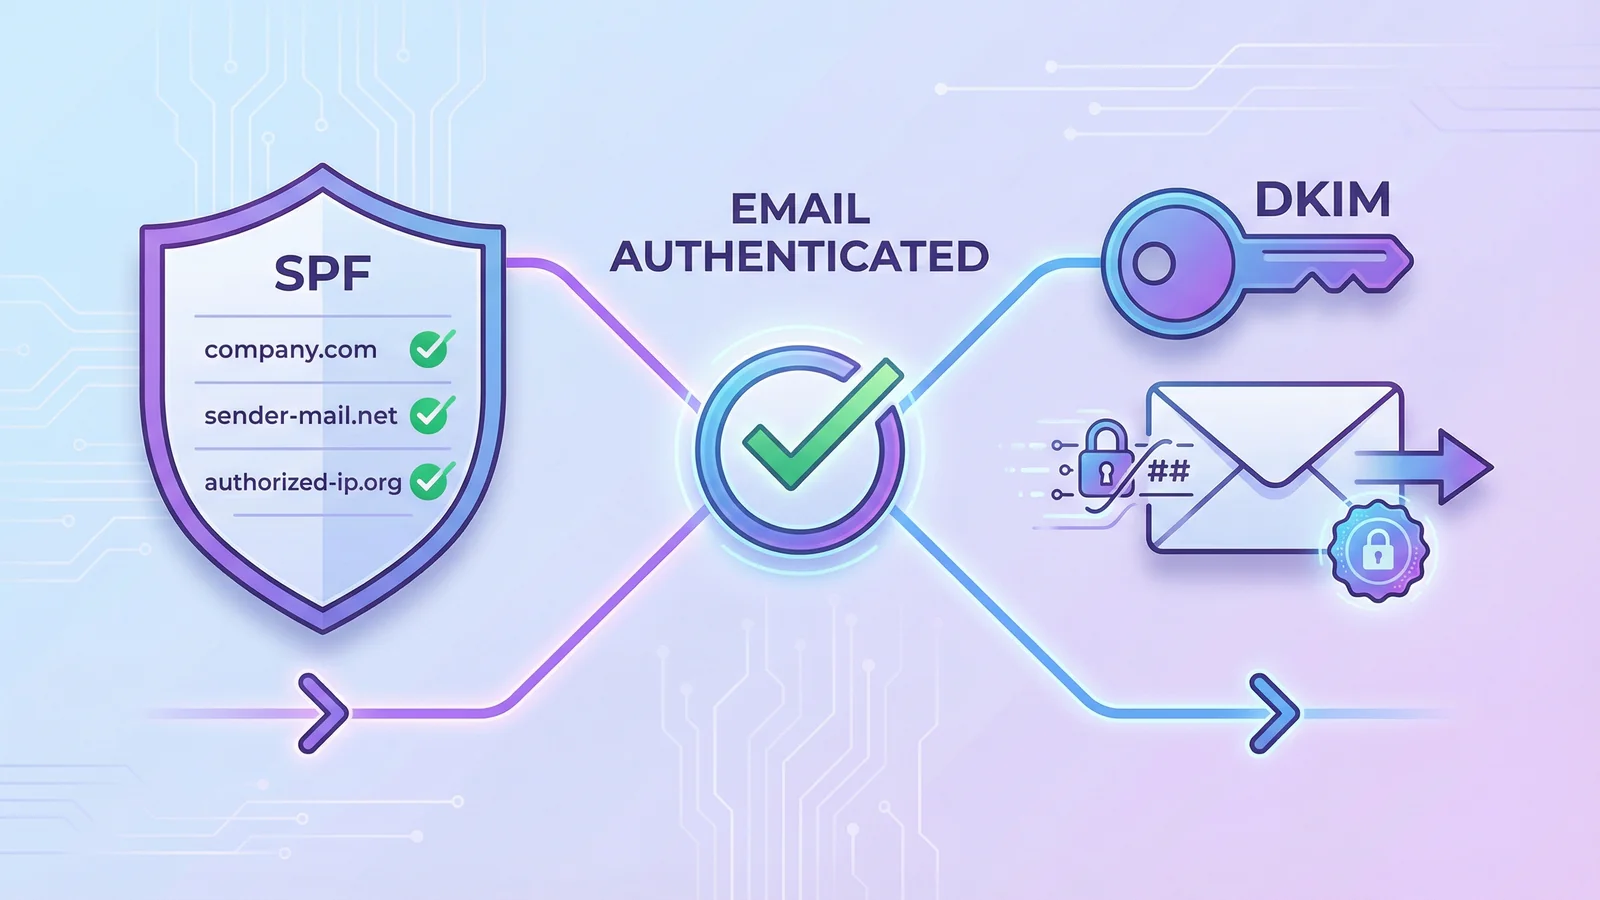
SPF (Sender Policy Framework) tells receiving mail servers which servers are allowed to send email on behalf of your domain. Without it, anyone can send email pretending to be you, and your legitimate emails are more likely to land in spam.
Add a TXT record for SPF:
- Host/Name:
@ - Type: TXT
- Value:
v=spf1 include:_spf.google.com ~all(for Google Workspace)
Replace the include: part with your email provider's SPF domain. Microsoft 365 uses include:spf.protection.outlook.com. If you send email from your hosting server as well, add both:
v=spf1 include:_spf.google.com include:yourhostingprovider.com ~all
Critical rule: you can only have one SPF record per domain. If you need multiple senders, combine them into a single record with multiple include: directives. Two separate SPF records will break email authentication entirely.
DKIM (DomainKeys Identified Mail) adds a digital signature to your outgoing emails. Your email provider generates a public key that you add as a TXT record, and they sign each email with the matching private key.
Your provider will give you the exact DKIM record to add. It typically looks like:
- Host/Name:
google._domainkey(or similar selector from your provider) - Type: TXT
- Value: A long string starting with
v=DKIM1; k=rsa; p=followed by the public key
Copy the DKIM value exactly as your provider gives it. Don't edit it, don't add spaces, don't split it across lines unless your registrar requires it (some do for values over 255 characters).
Tip: After adding SPF and DKIM, use our DNS Lookup tool to check that both TXT records appear correctly. The tool shows email authentication status at a glance.
Step 6: Set Up DMARC
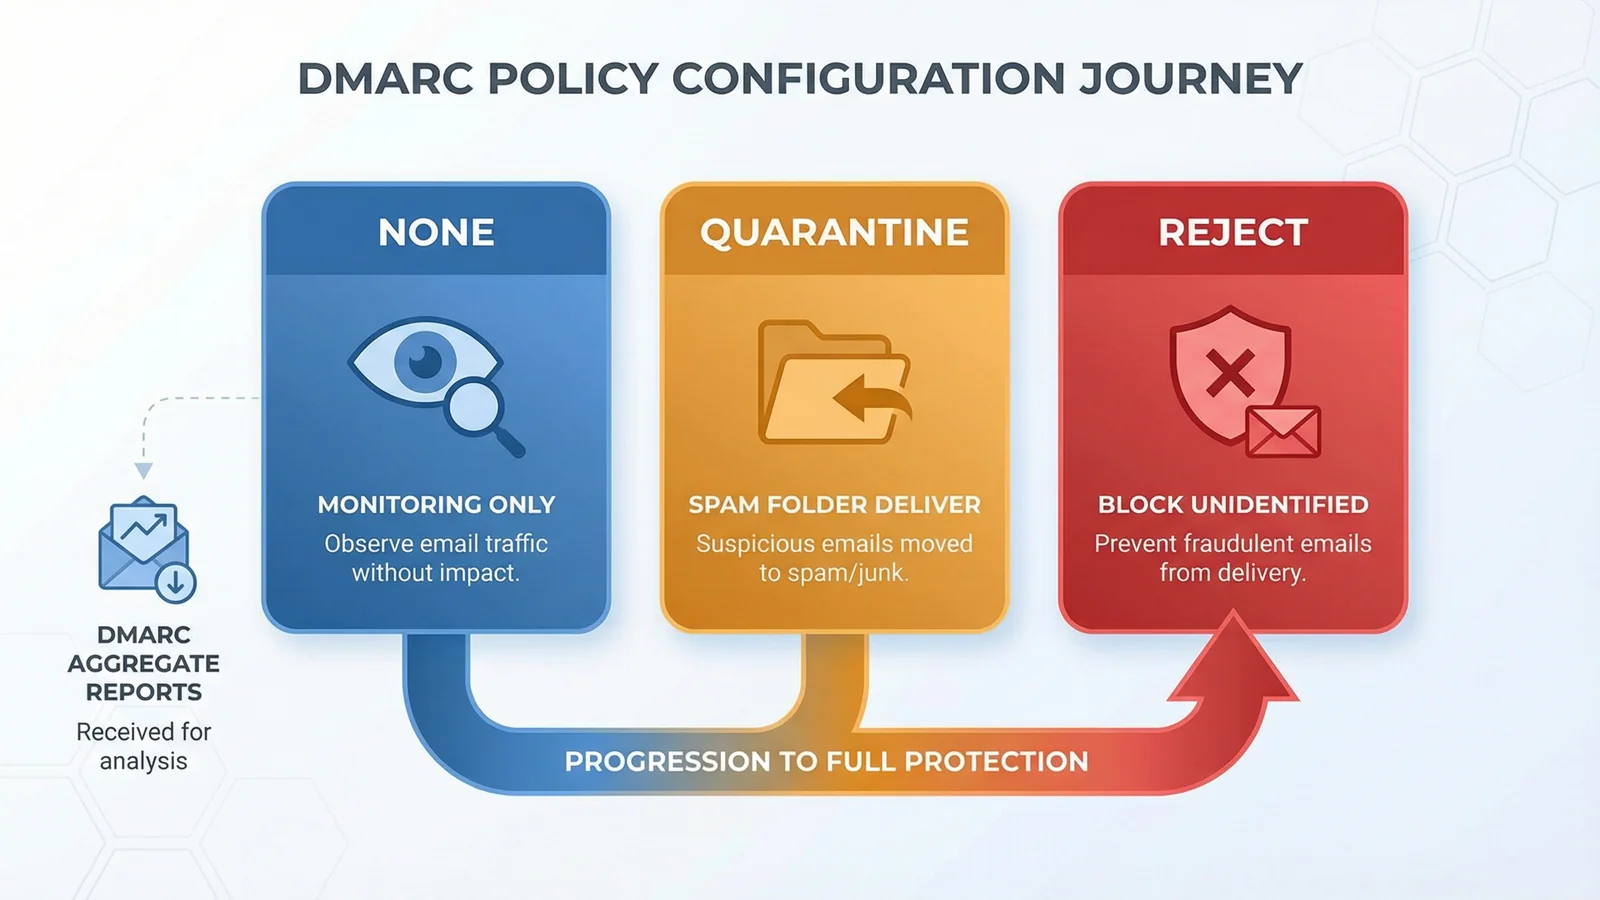
DMARC (Domain-based Message Authentication, Reporting, and Conformance) builds on SPF and DKIM. It tells receiving email servers what to do when an email claims to be from your domain but fails authentication checks.
Add a TXT record:
- Host/Name:
_dmarc - Type: TXT
- Value:
v=DMARC1; p=none; rua=mailto:dmarc@yourdomain.co.uk
The p= value is your policy:
none-- Monitor only. Emails still get delivered, but you receive reports. Start here.quarantine-- Send failing emails to spam. Move to this after reviewing reports for a few weeks.reject-- Block failing emails entirely. The strongest protection, but only enable it once you're confident all your legitimate email sources are covered by SPF and DKIM.
"We want people to implement DMARC, because if you make cybercrime harder, they'll go somewhere else. My job is not to beat cybercrime. It's to send it to France."
-- Ian Levy, Former Technical Director at the National Cyber Security Centre (NCSC), ZDNet
Levy's tongue-in-cheek comment makes a serious point. The UK government's own cyber security centre pushed DMARC adoption across all government domains because it works. Phishing attempts against .gov.uk dropped by 50% in the first year. If it's good enough for the government, it's worth 30 seconds of your time to add a TXT record.
I set up DMARC on every client domain we manage. The reporting alone is valuable: you'll see exactly who's trying to send email as your business, and you'll often spot services you forgot about (old marketing tools, CRM systems) that need adding to your SPF record. If you'd rather not wrestle with TXT records manually, we wrote about how 365i's hosting control panel handles DKIM and DMARC setup with a couple of clicks.
Tip: Start with p=none and the reporting address. Review the DMARC reports for two to four weeks before tightening the policy. Jumping straight to p=reject can block your own legitimate emails if SPF or DKIM aren't configured for every sending service.
Step 7: Verify Your DNS Records
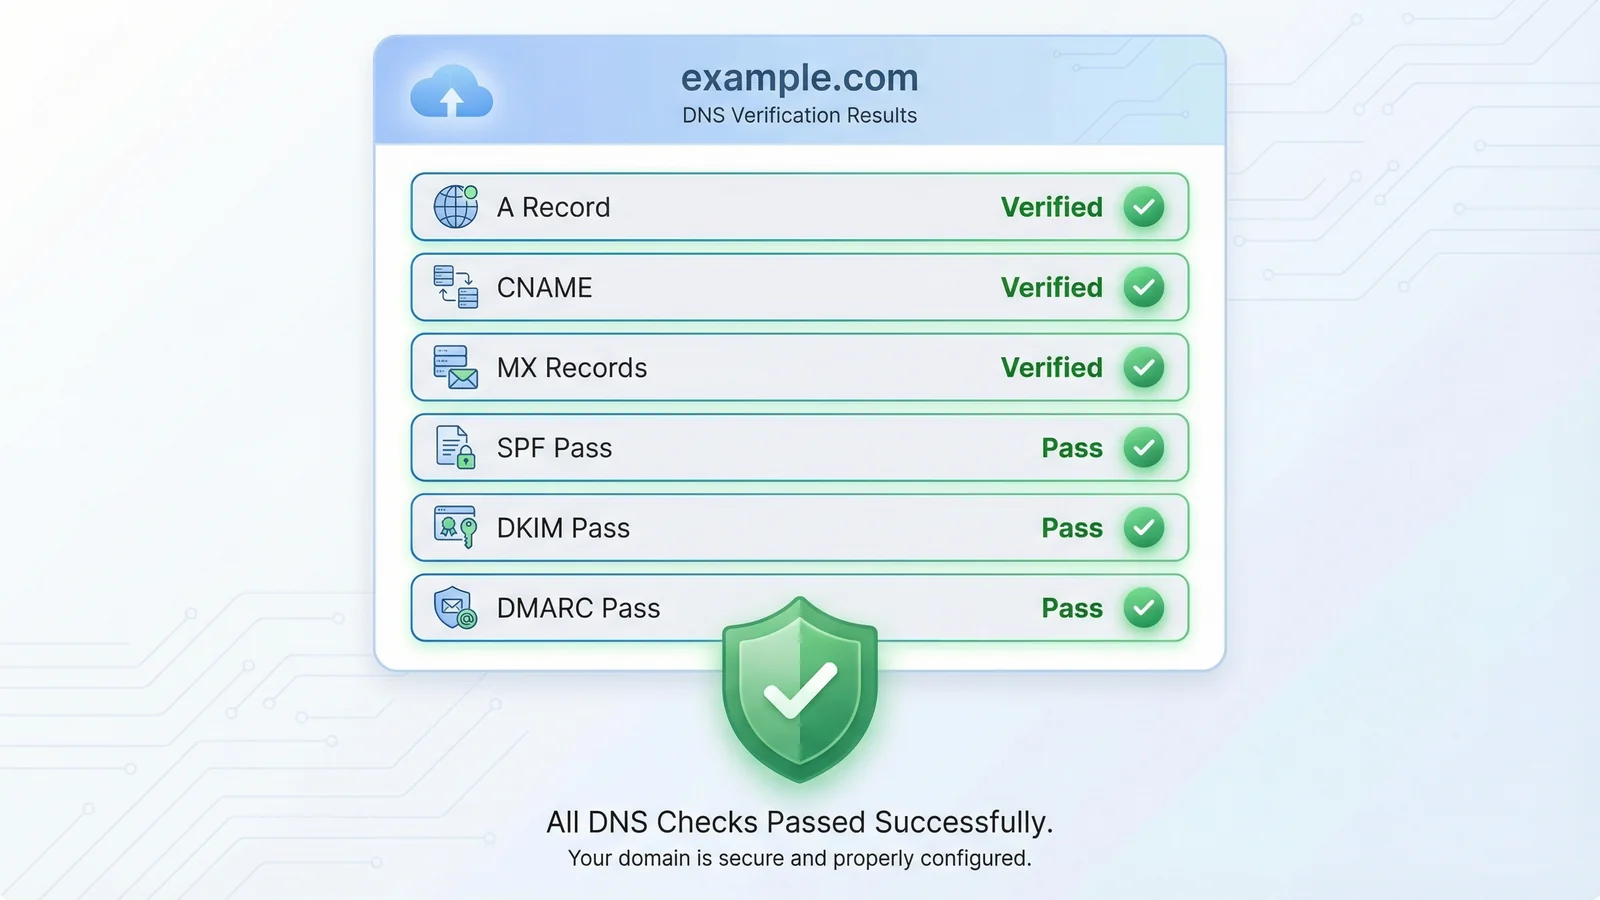
You've added all the records. Now confirm they're actually live.
DNS changes don't take effect instantly. Your registrar might show the new records immediately in their panel, but the rest of the internet needs time to pick them up. This is called DNS propagation, and it typically takes between 15 minutes and 48 hours (though most records propagate within an hour or two).
Run your domain through our DNS Lookup tool and check each record type:
- A record: Should show your hosting IP address
- CNAME: www should resolve to your root domain
- MX: Should list your email provider's mail servers
- TXT (SPF): Should show your SPF record with all
include:entries - TXT (DKIM): Should show the public key under your provider's selector
- TXT (DMARC): Should appear under
_dmarc.yourdomain.co.uk
Then do two practical tests:
- Load your website in a browser. If the A record is right, your site loads. If you see a parking page or error, the A record is still pointing to the old server or hasn't propagated yet.
- Send a test email from an external address (like Gmail) to your domain email. If MX records are correct, it'll arrive. Check the headers to confirm DKIM passed and SPF aligned.
Tip: If records haven't propagated after a few hours, try clearing your local DNS cache. On Windows, run ipconfig /flushdns in the command prompt. On Mac, use sudo dscacheutil -flushcache. Or just test from your phone on mobile data, which uses different DNS servers.
DNS Record Quick Reference
Keep this table bookmarked. It covers every record type you'll need for a typical business website with email.
| Record Type | Purpose | Example Value | You Need It If... |
|---|---|---|---|
| A | Points domain to a server IP | 185.151.28.133 | You have a website (always) |
| AAAA | Points domain to an IPv6 server | 2a06:98c1:3120::1 | Your host provides an IPv6 address |
| CNAME | Alias from one name to another | www → yourdomain.co.uk | You want www to work (almost always) |
| MX | Routes email to mail servers | aspmx.l.google.com | You receive email on this domain |
| TXT (SPF) | Lists authorised email senders | v=spf1 include:... ~all | You send email from this domain |
| TXT (DKIM) | Email signature verification | v=DKIM1; k=rsa; p=... | Your email provider supports it (most do) |
| TXT (DMARC) | Email authentication policy | v=DMARC1; p=none; rua=... | You want to protect against spoofing |
| NS | Delegates DNS to nameservers | ns1.365i.co.uk | Usually set by your registrar automatically |
Frequently Asked Questions
How long does DNS propagation take?
Most DNS changes propagate within 1 to 4 hours. The maximum is 48 hours, though that's rare with modern DNS infrastructure. If you lowered the TTL (Time to Live) on your records 24 hours before making changes, propagation will be even faster.
Can I set up DNS records myself without a developer?
Yes. DNS records are just text entries in your registrar's control panel. If you can fill in a form, you can set up DNS. The records in this guide are copy-and-paste values from your hosting and email providers. No coding required.
What DNS records do I need for email?
You need MX records (to route incoming email), an SPF record (to declare which servers can send on your behalf), a DKIM record (to digitally sign outgoing mail), and a DMARC record (to tell receivers how to handle authentication failures). All four work together to ensure email delivery and prevent spoofing.
What happens if I get a DNS record wrong?
The impact varies by record type. A wrong A record means your website won't load. Wrong MX records mean email stops arriving. A broken SPF record can send all your outgoing email to spam. The fix is always the same: correct the record in your DNS panel and wait for propagation. Nothing is permanently broken.
Do I need to change DNS records when I switch hosting?
You need to update the A record to point to your new hosting provider's IP address. If your email isn't changing, leave MX, SPF, DKIM, and DMARC records as they are. Only change what's actually moving. Our domain transfer guide covers this in detail.
What is a TTL and should I change it?
TTL (Time to Live) tells DNS servers how long to cache a record before checking for updates. A TTL of 3600 means servers cache the record for 1 hour. Lower it to 300 (5 minutes) before making DNS changes so updates propagate faster. Set it back to 3600 or higher once everything is confirmed working.
What is the difference between an A record and a CNAME?
An A record points a domain name directly to an IP address (like 185.151.28.133). A CNAME points one domain name to another domain name (like www pointing to yourdomain.co.uk). Use A records for root domains, CNAME for subdomains and aliases.
Do I need DMARC for a small business?
Yes. DMARC protects your domain from being used in phishing emails, regardless of your business size. It takes 30 seconds to add and costs nothing. Start with p=none to monitor, then tighten the policy once you've confirmed all your email sources pass SPF and DKIM checks.
Check Your DNS Health for Free
Run your domain through our DNS Lookup tool to see every record, check email authentication, and spot problems before they cause downtime.
Check Your DNS RecordsSources
Published: · Last reviewed: · Written by: Mark McNeece, Founder & Managing Director, 365i
Editorially reviewed by: Mark McNeece on · Our editorial standards